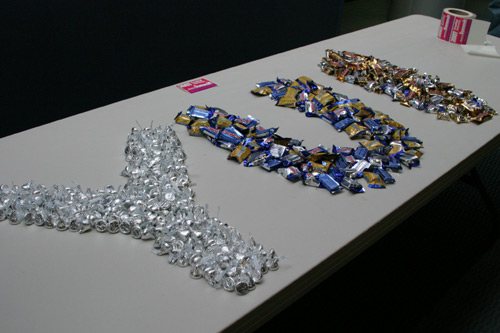
This example shows how to use YUI 2 and 3 at the same time as well as interacting with each other.

Using YUI 2 inside of YUI 3
In this example, we are using the new YUI 3 support for loading and sandboxing YUI 2.
From the YUI().use() statement, you will be able to load any module/utility/widget from
YUI 2 and use it like you would in YUI 2.
Creating your YUI instance
Now we need to create our YUI instance with the node and yui2-imagecropper
modules, so we can create a YUI 2 ImageCropper and do some simple DOM manipulation with Node.
YUI().use('node', 'yui2-imagecropper', function(Y) {
});
Creating the ImageCropper
Now that we have our tools in place, let's create the ImageCropper. Using the new support for loading YUI 2 into a YUI 3 instance, you can set up a simple variable to help you cut and paste your YUI 2 based code.
In the code sample below, we are creating a scoped variable called YAHOO and assigning
it from Y.YUI2. The YUI2 property of the YUI instance is a scoped version of the
YUI 2 YAHOO object. If this page is inspected, you will notice that there is no global YAHOO variable.
YUI().use('node', 'yui2-imagecropper', function(Y) {
    //This will make your YUI 2 code run unmodified
    var YAHOO = Y.YUI2;

    var crop = new YAHOO.widget.ImageCropper('cropper');

});
Using Node too
Now we need to add the yui-skin-sam class to the body so the skin works.
Y.one('body').addClass('yui-skin-sam');
Full example source
<img src="../assets/yui/yui.jpg" id="cropper">

<script>
YUI().use('node', 'anim', 'yui2-imagecropper', function(Y) {

    Y.one('body').addClass('yui-skin-sam');

    //This will make your YUI 2 code run unmodified
    var YAHOO = Y.YUI2;

    var crop = new YAHOO.widget.ImageCropper('cropper');

});

</script>
